Highlights
Wheel wells
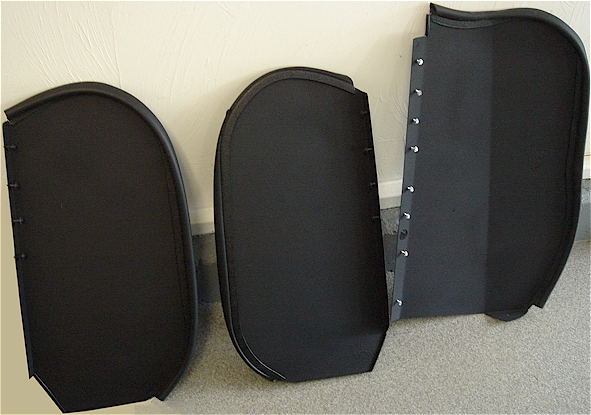
The wheel well design incorporates front and rear splash guard panels, also referred to as elephant ears due to their shape, to fill in the space between the tubular chassis and body shell:
— FFR 10861: LH front
— FFR 10862: RH front
— FFR 14585: LH rear
— FFR 14586: RH rear
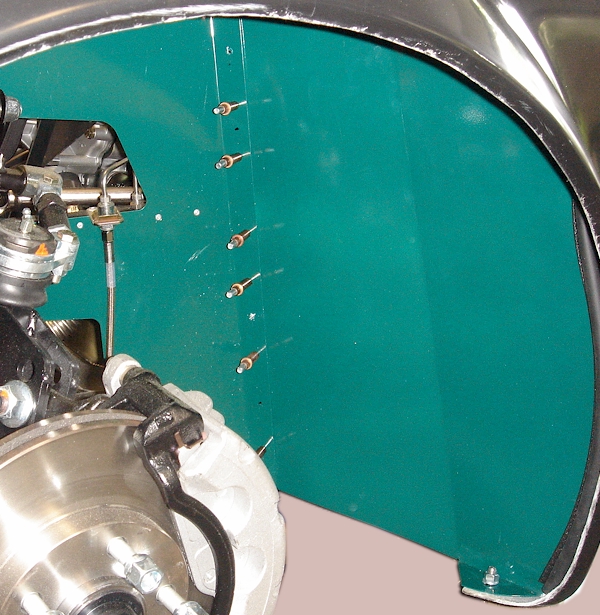
Front splash panel, known as an “elephant ear”, forms a wheel well; note the small tab on the bottom of the splash guard that attaches to the fiberglass shell
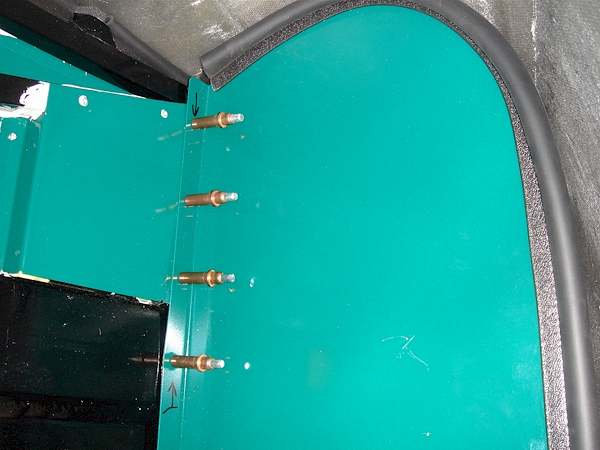
Rear splash panel completes the wheel well; unlike the front panel, the small tab on the bottom that attaches to the fiberglass shell faces away from the wheel well
These panels should be approximately positioned, pre-drilled, and modified where necessary to fit before the body shell is on the chassis,
As described below, the DS front splash must be modified for the front harness pass-through and clutch cable hold, while the DS rear splash must clear the flange of the new FFR aftermarket fuel tank.
Bulb seal along the body-contact edge creates a tight, rigid join. Both front and rear splash guards have small tabs that are secured to the fender bottoms of the body. The front panel tab faces towards the wheel well, but the rear panel tab faces away from the wheel well.
With the bulb seal in place, position the panel until the a good fit is achieved. Some trimming may be necessary. Drill the panels for rivets or self-tapping screws (screws are recommended so that, if necessary, the guards can be unscrewed for maintenance or body shell removal).
Carefully check the body contour and position on the chassis. The splash panels may change the fit of the exhaust cutouts (front) or the roll bar cutouts (rear).
After the body shell has been painted, a final fit to the inside body contour will be made.
Splash modifications
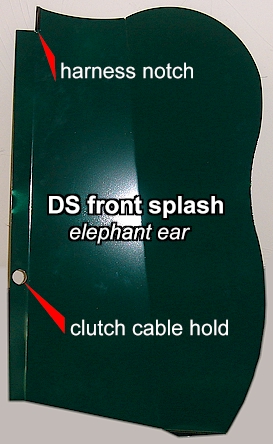
DS front splash is modified for the front harness pass-through and access to the clutch cable hold
DS front splash
The driver side “elephant ear” needs two minor modifications, and both are more easily accomplished without the body on the chassis.
First, a small notch must be made to allow the front harness to pass along the outside of the F-panel. Second, an access hole is required for the clutch cable hold screwed to the F-panel.
DS rear splash
On the driver side, the rear splash conflicts with the new FFR fuel tank flange extension. While it is possible to bend the flange back, this could create a tank leak and a potential hazard.
This is only a Complete Kit issue; the OEM Mustang tank flange has a different bend and does not block the splash guard.
The rear splash mounts directly behind the quad shock mount (a rectangular plate with two diagonal bolt holes) and should be attached to the chassis tubing the runs vertically down.
Approximately position the guard and trim the inside bottom of the panel so that it no longer touches the fuel tank. For appearance, both rear panels can be trimmed to match, although on the driver side has the fuel tank conflict.
With bulb seal in place, position and trim if necessary for a tight fit.
3M Rubberized treatment
In addition to vinyl wheel well guards, treating the rear inside surfaces of both front and rear splash guards cuts down on road noise.
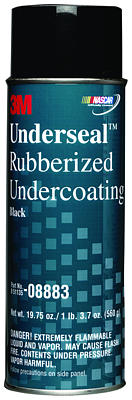
3M Underseal Rubberized Undercoating provides good protection.
The spray goes on as a textured black finish that resists chipping, abrasion, exterior rusting, and weathering. It provides one-coat build-up with no dripping, running, or sagging.
The undercoating goes on with a medium to coarse texture that matches an OEM appearance. It can also be refreshed if necessary by simply re-spraying a damaged or frayed area.
Panels can be sprayed with or without rubber edge seal in place (but protect seals with tape if already installed).
The rubberized coating reduces the “ping” sound from road debris.
Rubberized treatment of splash guards
FFR radiator guards
Refer also to radiator cowling, hood hinge, and radiator mount sections.
The FFR radiator guard surround is composed of 3 panels:
— FFR 10865: front nose guard at bottom of radiator
— FFR 10907: LH front nose wall along radiator
— FFR 10908: RH front nose wall along radiator
Unlike the new cowling designed for the Breeze hood hinge, the original FFR radiator guards are installed after the gel coat shell has been mount.
The FFR panels are best positioned by reaching through the nose opening with the body shell already on, but if you install the Breeze hood hinge, access is difficult.
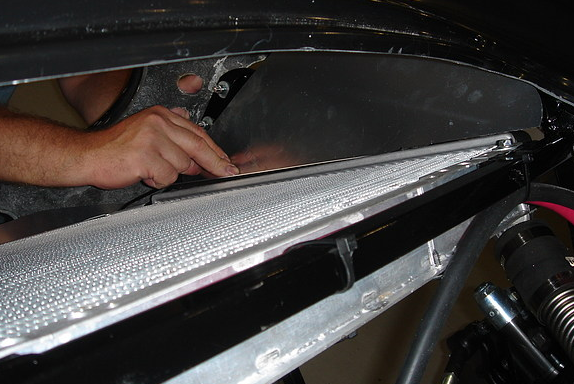
FFR radiator side guard is positioned by reaching through the nose opening in the body shell — NOT USED IN THIS BUILD
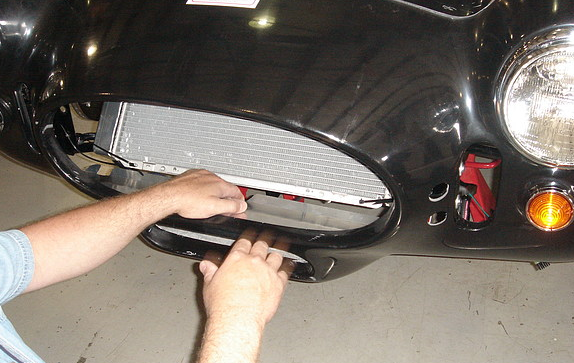
Radiator nose guard is positioned for the first time after the gel coat shell has been mounted — NOT USED IN THIS BUILD