Topics
Background
Refer to rear drive overview discussion. Note that cosmetic restoration is not emphasized since the rear wheel will be entirely hidden under the chassis of the cyclecar. Both wheel bearings will be replaced.
Disassembly

Removing the cush plate
The front cush plate is held in place with a large snap ring and small positioning plate. Once these are removed, the plate must be pulled off the center spindle.
The tight fit is difficult to dislodge. We fashioned a special tool using two large curved jaws squeezed under the center spline that were then pressed together with threaded rods. Crow bars under the center of the threaded rods slowly lifted the plate without any damage.
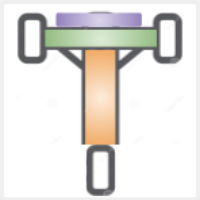
The underside of the plate has ridge dividers that help hold twelve pie-shaped rubber pieces in place, known collectively as the “cush drive”.
Cush drive
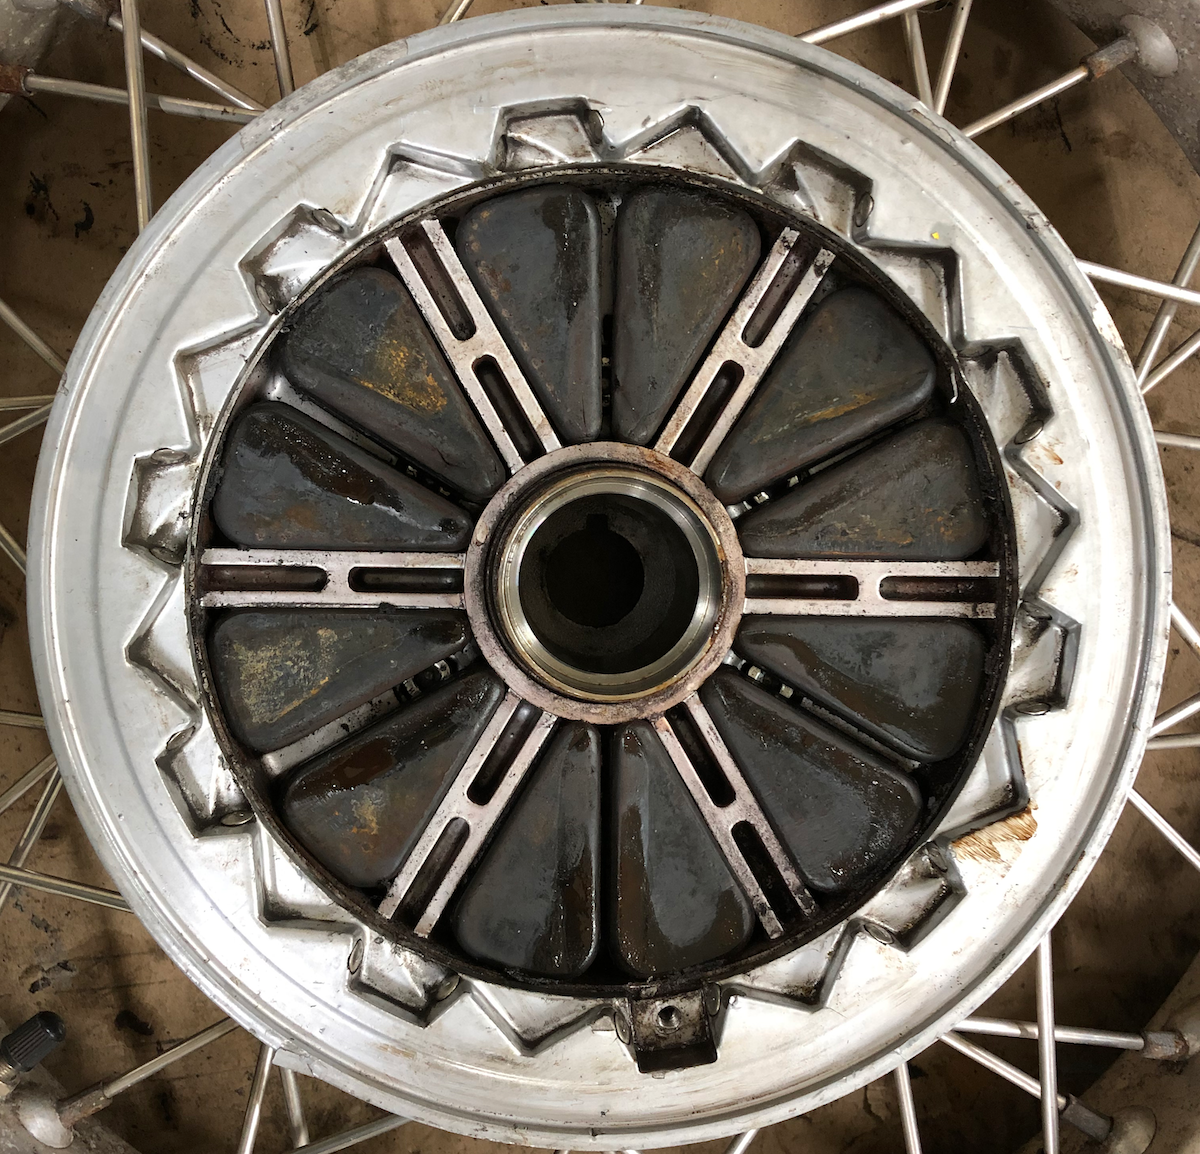
Rubber cush drive pieces under the plate
A cush drive reduces torque stress on drive train components caused by sudden acceleration typically due to gear and/or throttle changes.
Moto Guzzi uses triangular rubber dampers on the California 1100 to reduce forces between metal components (different rubber shapes have been utilized by Guzzi and other motorcycle manufacturers).
An O-ring under the cush plate keeps lubrication from leaking out. The cush drive floor has six divided sections that is part of the cast aluminum hub. By the way, cush drive was invented a hundred years by Royal Enfield for their V-twin motorcycles, so it’s still very appropriate to include in the cyclecar design.

Cush drive O-ring

Cush drive divided sections
Six M8 bolts fasten the spoke hub and rotor flange together; the larger hub contains all the spoke ends while the smaller flange holds the carrier for the brake rotor.
Cush drive rubber
The rubber pieces tend to age out and become softer over time, so they will all be replaced. In fact, Bruce tested the old and replacement rubbers with a Shore Type A durometer to measure the exact change in rubber hardness over time, and the results strongly confirm the decision to install new ones.

Rubber hardness measurements with a Shore Type A durameter
Invented by Albert Ferdinand Shore in the 1920s, the durometer A scale is typically used for “softer” rubbers from rubber bands to ebonite. The proper specification appears to be around 83 Shore A, a hardness used for items like tap washers that need some limited compression but can still resist pressure. The original rubbers had degraded down to 56 Shore A, a softness typically used for pencil erasers! Clearly, this has an impact on the effectiveness of the cush drive.
Wheel bearings and flange

Wheel bearing and circlip
Each side of the wheel has a bearing that supports the rear axle. The cush drive side is held in place by the cush plate; a circlip or snap ring holds the bearing on the brake rotor side.
After removal of the circlip and cush plate, the bearings themselves must be pulled out with a blind inner bearing slide hammer tool. This tool has a lipped collet that expands as a threaded rod is tightened through its center. The expanding collet grabs the inner diameter of the bearing while its small lip catches the back edge of the bearing. Brute force slamming of the hammer outwards then pulls the bearing out.

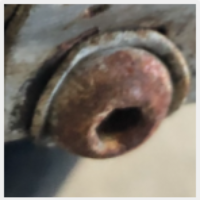
Brake carrier with two stuck bolts
Next the brake rotor flange is removed … at least in theory.
In our case, two very stuck bolts prevented the removal of the entire assembly in one step. Instead, we first removed the circlips holding the brake rotor bushings that in turn secure the rotor to the carrier.
Then, with a more convenient smaller part to work on — just the smaller flange part of the hub without the rotor — Bruce finally freed the stuck bolts from the hub by cutting the heads so that a large wrench could rotate them.
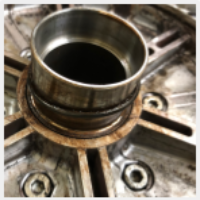
Below the brake rotor carrier, a circlip holds the aluminum hub to a cylindrical axle channel; there is no need to remove this circlip.

Rotor side of the main spoke hub with circlip and axle channel
At this point, inspection of the wheel hub revealed no rim deformation or spoke damage that needed treatment.
Cleaning

Rough original condition rims
Cleaning a spoke wheel is basically a pain.
The spoke nipples tend to rust and are difficult to restore without removing the entire spoke. Meanwhile, our aluminum rim was marred by corrosion blemishes and road grime, along with a few minor dings that won’t impact performance.
The internet is filled with promotions and theories about the best way to remove rust and restore aluminum to its original luster.
Some remedies require the part to be soaked in a bath of chemicals for hours or days — not practical with an entire wheel (not to mention the rubber tire). Other ideas claim to be “old school” secrets passed down from mechanic to mechanic. Basically, they all work about the same … there is no magic bullet so to speak.

Nipples coated with Naval Jelly
We started by coating all the steel nipples with Loctite Naval Jelly, a sticky red goo rust remover that clings to small bits. In our case, it’s important not to mar the aluminum or chrome spokes; a limited 10 minute exposure to Naval Jelly does no harm. After washing off the residue, wire brush and steel wool removes most of the rust and age spots.
We tried a number of metal polishes that brightened up the finish a little, but left spots and blemishes. We tried pads, polishing wheels, steel wool (#000 and #0000 grades), and even an electric drill wire tool. Unless the wheel is completely taken apart with all the spokes removed, a 100% satisfactory polishing job isn’t possible. Since the rear wheel will be completely hidden anyway, we decided to declare victory with a good enough, but less than perfect, finish.
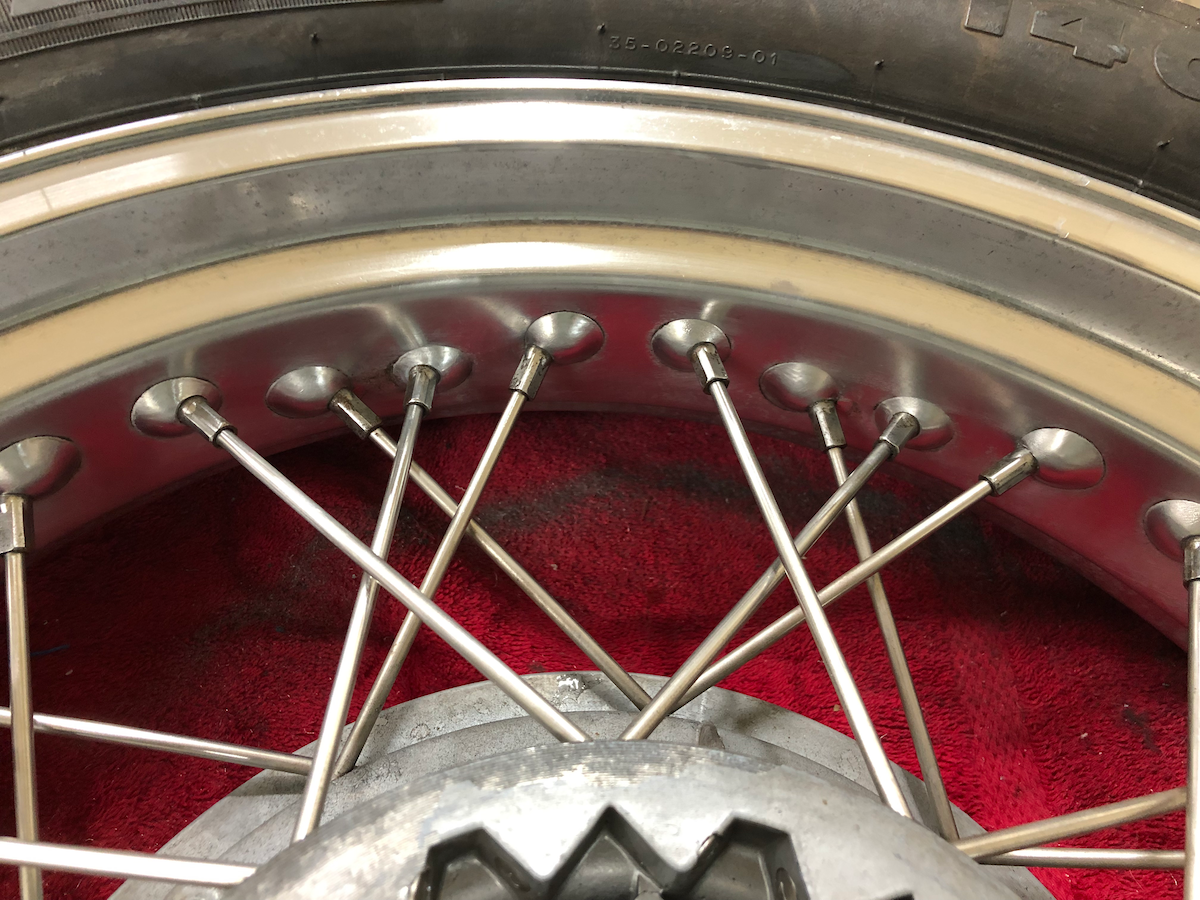
Polished wheel rim, not perfect, but good enough since the wheel is completely hidden
Media blasting and paint

Media blasted brake flange
Even after hard scrubbing, aluminum is very difficult to get completely clean. When possible, media blasting is the preferred method, and we were able to do this with the brake disc flange, part number 30632460.
Just a few minutes in the blasting cabinet achieves outstanding results. The blemishes and bits of embedded grime are gone.
We then applied POR 15 aluminum engine paint (also used on the engine block and bevel gear case) to both the blasted flange and the rim of the wheel hub.

Painted rear brake disc flange
See also rear brake flange discussion.
Brake rotor
A new brake rotor bolts to the brake disc flange.

New brake rotor on restored flange and wheel rim