Topics
While the XJ6 was outfitted with a premium audio system by 1970s standards, much has been improved during the past 45 years so a significant upgrade in the car’s audio system is warranted.
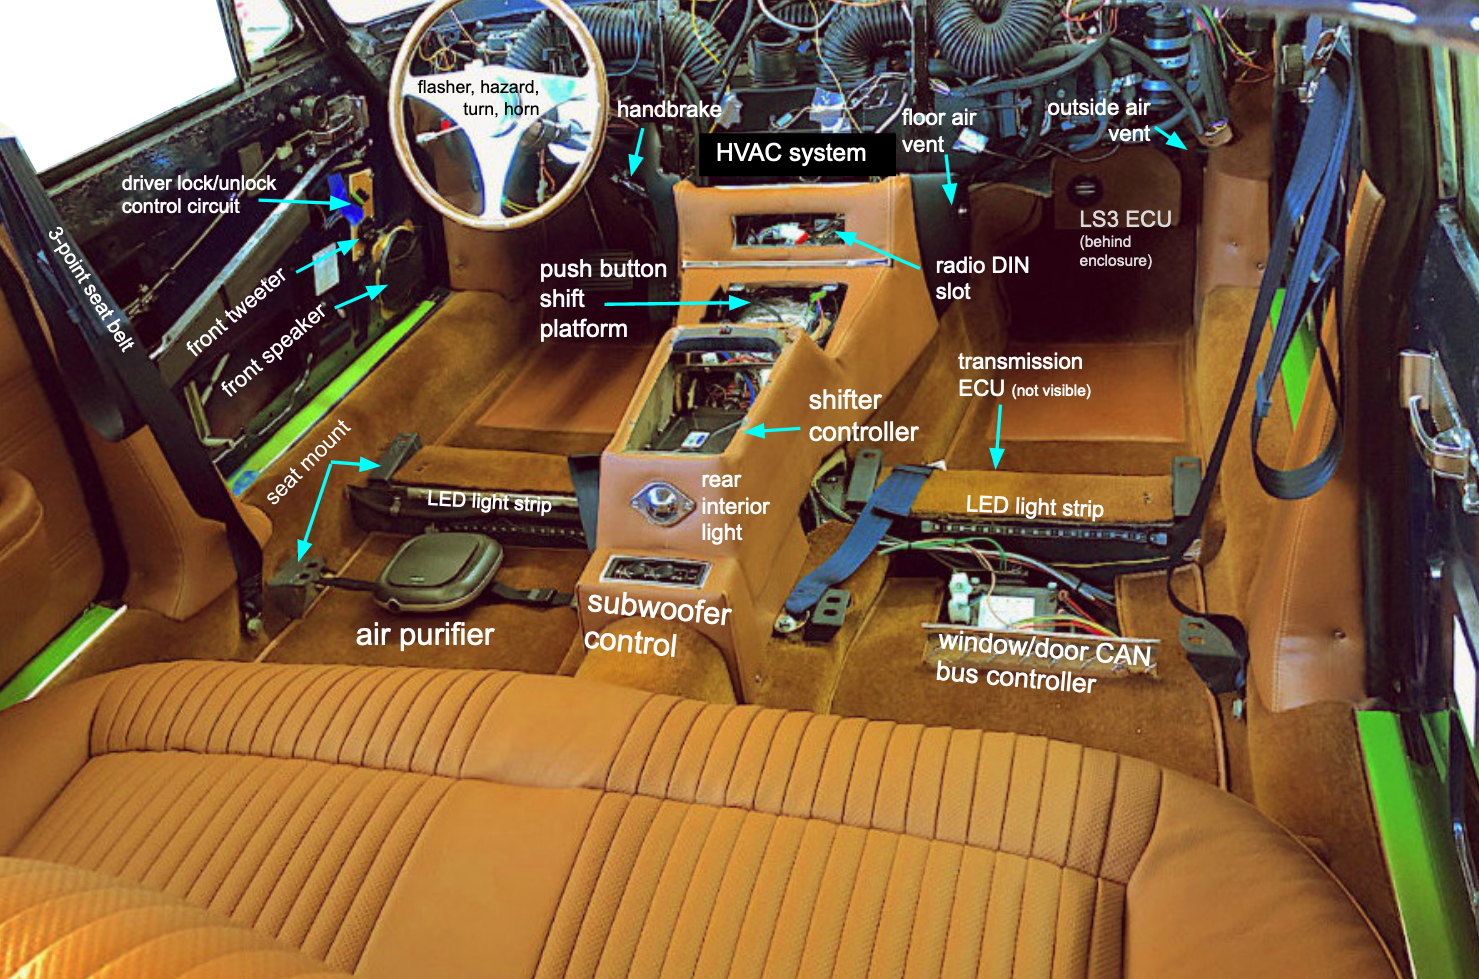
The XJ6 originally sported four speakers in each of the door panels, and this was reasonably advanced for the time. The front door speaker location still makes sense; it is well positioned and doesn’t interfere with anything else.
The rear door speakers, however, are not optimally placed. A much better location is the rear backlight shelf that can easily accommodate two speakers.
High end audio systems routinely feature separate tweeters for high frequencies, and two small tweeters can be retrofitted into the XJ6 doors. Finally, a separate self-contained amplified subwoofer can be placed in the trunk. The subwoofer produces very low frequency sound and the location doesn’t have to be centered in the cabin.
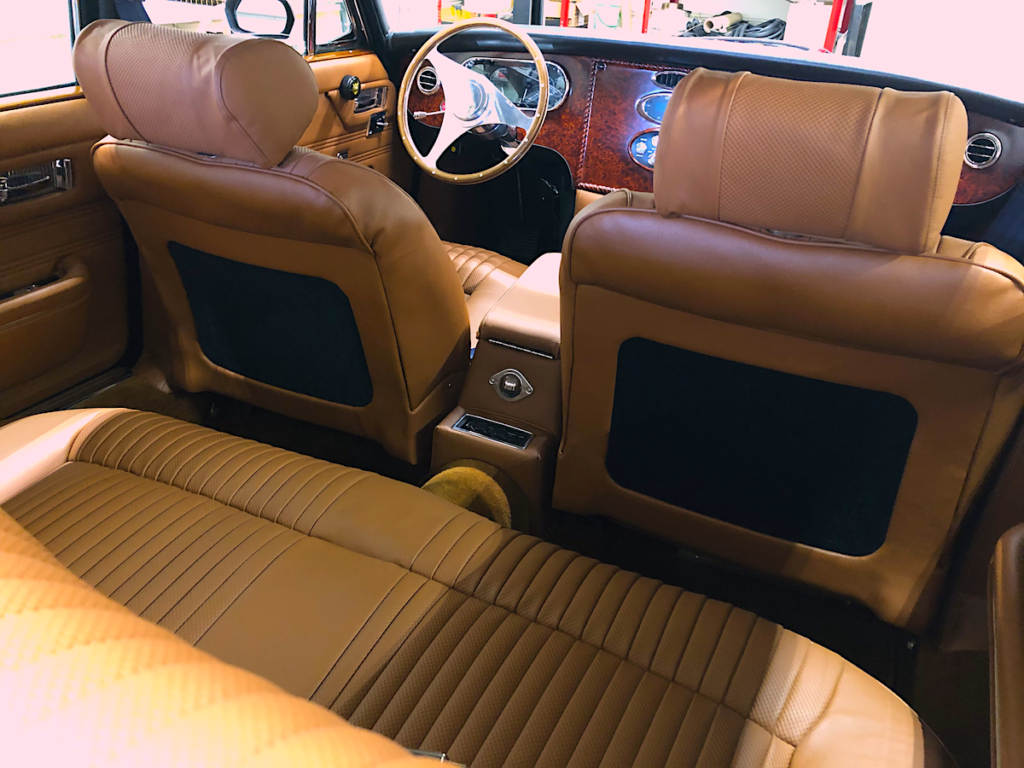
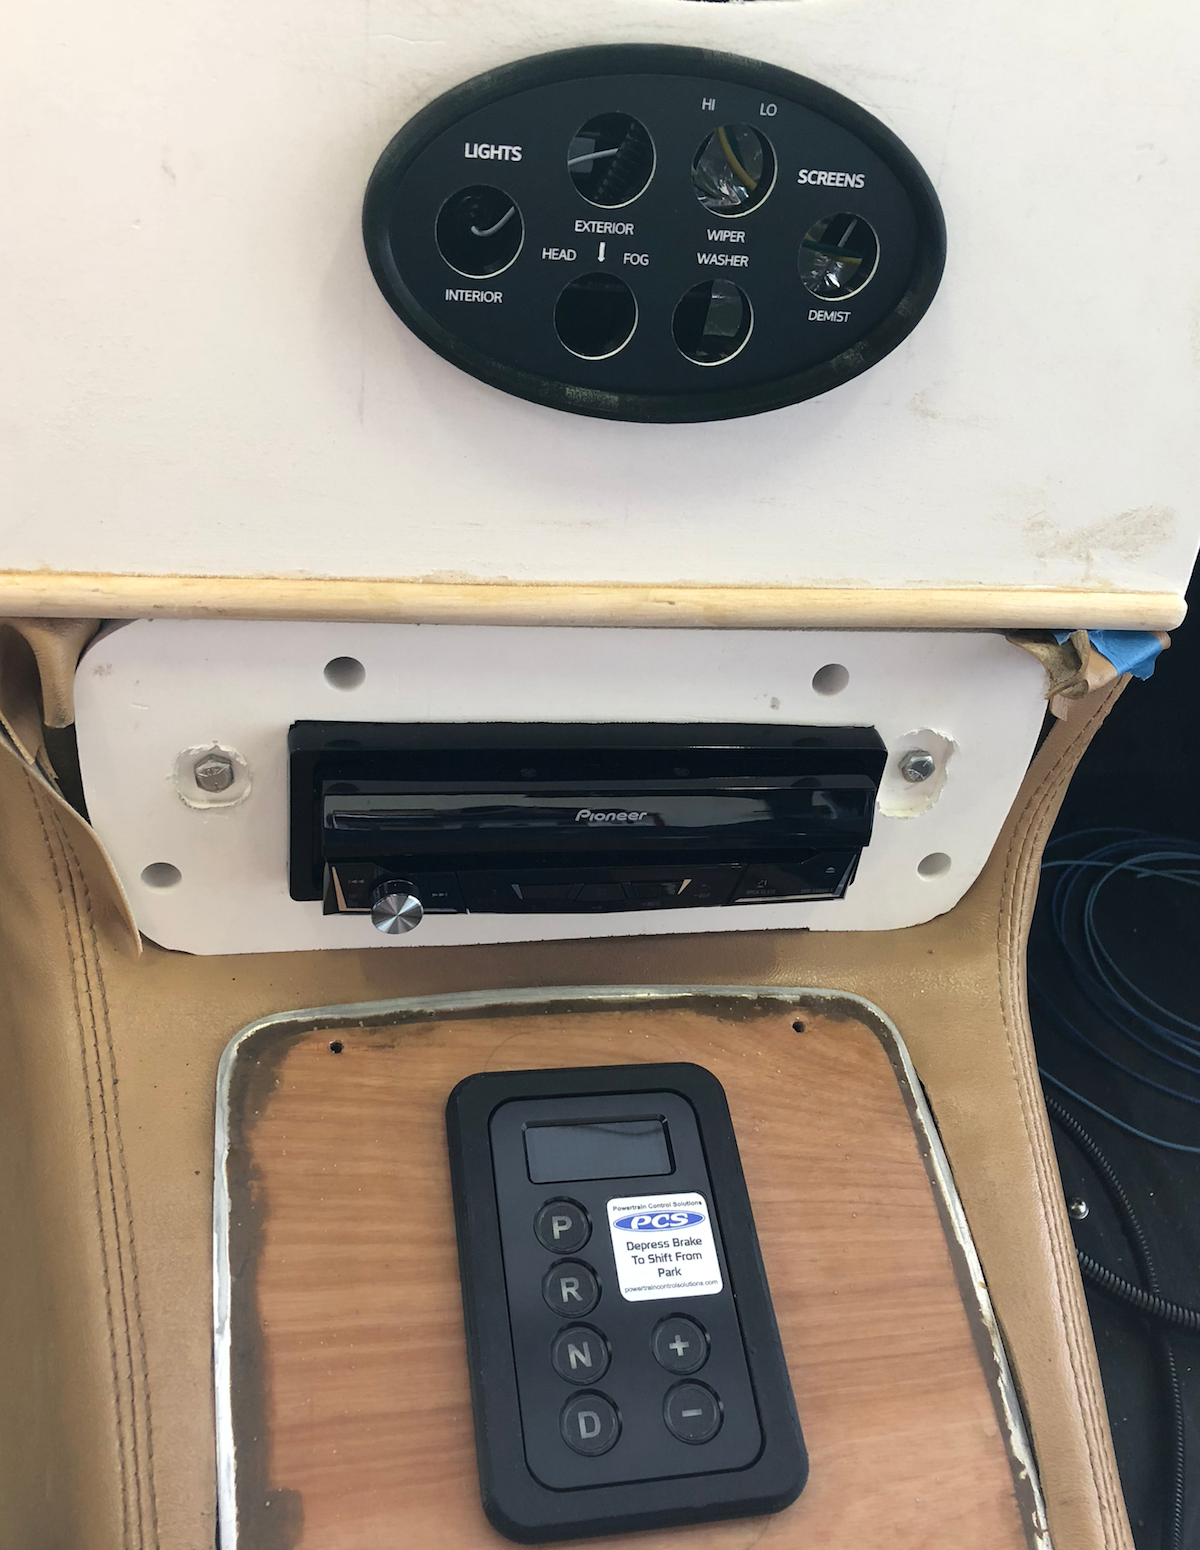
As noted in the console makeover discussion, a retractable 7″ screen can fit if a push button shifter is installed, and the single DIN space works well with a head unit like the Pioneer AVH-3300NEX receiver.
The Pioneer receiver features four MOSFET 50-watt amplifiers, so the speaker system nominal wattage should reflect this (an accessory amplifier is always possible, but super high volume output isn’t the goal here).
The front door speaker cutout can accommodate a 5.25″ speaker size. The rear shelf could take even a larger speaker, but it makes sense to maintain a balanced system so all four speakers should be 5.25″.
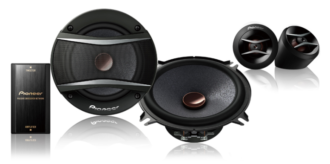
The Pioneer TS-A1306C package includes two 50-watt 5.25″ speakers and matching front door tweeters with a passive crossover network.
For rear speakers, the Pioneer TS-A1376R 50-watt 5.25″ matches well with the front pair.
The Pioneer TS-WH500A amplified subwoofer is only 2 3/8″ high (so it could fit under the passenger front seat if the Infinitybox inMotion wiring wasn’t there instead). But we have plenty of room on the trunk shelf and the right side opposite the battery.
Door speakers
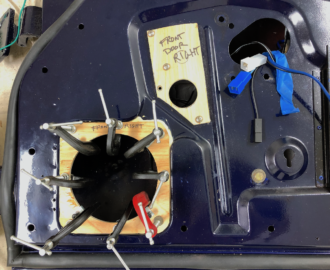
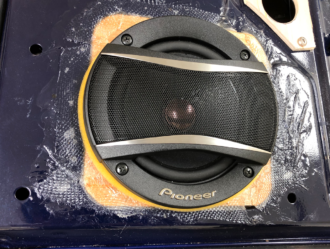
The existing door cutouts are modified with a plywood platform to hold a new Pioneer 5.25″ speaker. Wood glue held in place with C-clamps correctly positioned the platform and then a thin layer of fiberglass added rigidity and strength.
A foam ring around the cutout provides a mechanical separation between the vibrating speaker and the rigid door sheet metal.
Additional insulation was also placed directly behind the speaker that should help point sound out the front of the enclosure.
The tweeter is positioned in its own plywood backing just above the speaker. An electronic crossover module attaches with velcro to the inside of the indent to the right of the speaker enclosure. The crossover unit is pre-wired for both speakers and tweeters so only a pair of wires need to exit the door.
Rear speakers
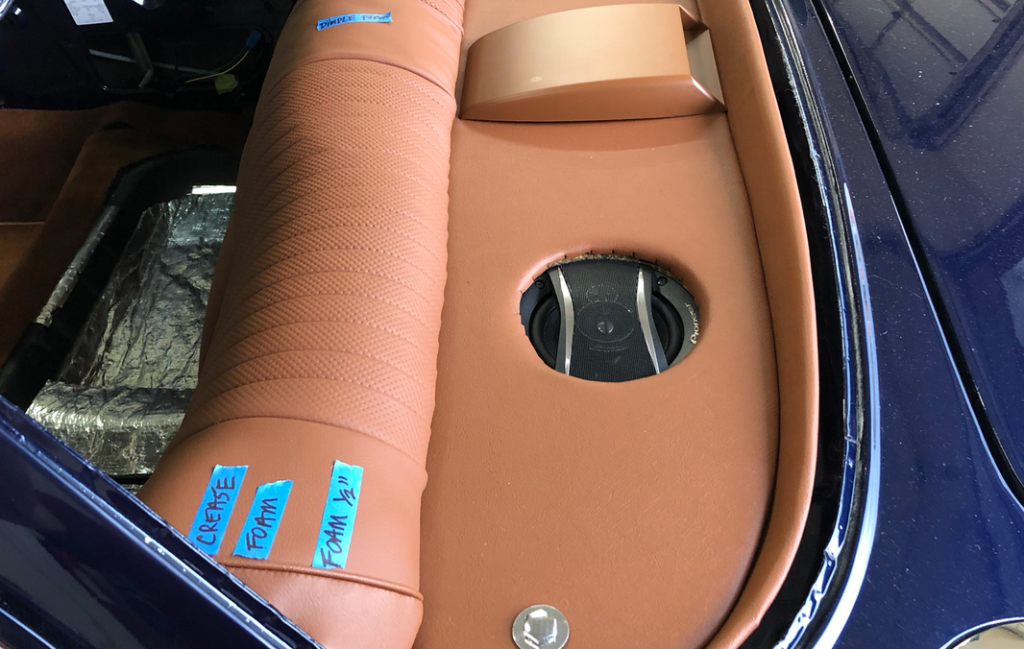
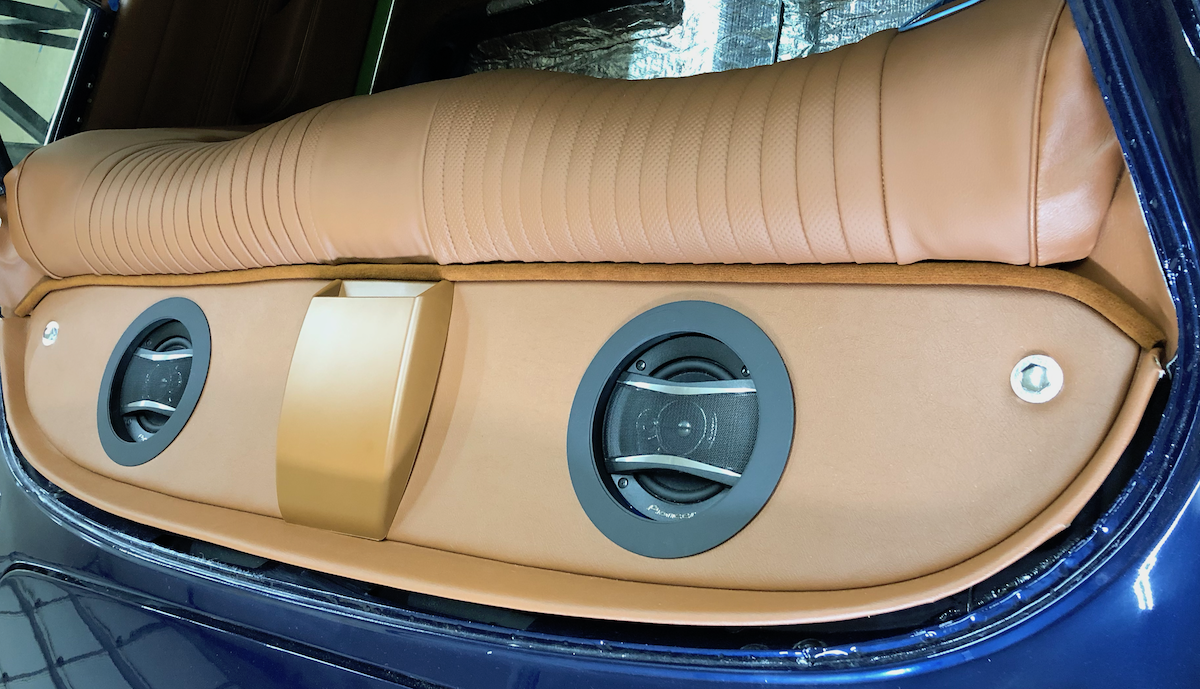
The rear speakers are mounted in slightly recessed circles on the rear backlight shelf. A minor installation issue is that the speakers are fixed to the chassis shelf which is about an inch below the finished surface of the shelf upholstery; the transition is therefore an awkward one.
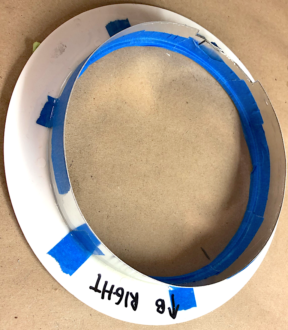
Our solution is a fabricated “hat” surrounds that extend a cylinder down to the metal shelf.
Metal strips were fixed with fiberglass to plastic rings (a recessed lighting fixture blanking plate fit the dimensions we needed). After trimming to fit the slight incline of the shelf and applying flat black paint, the result is a professional looking enclosure.
The scoop in the middle of the shelf, by the way, is an exit air vent.
Subwoofer control
Pioneer installation instructions (which are extremely minimal by the way) suggest placing the handheld subwoofer remote control loosely on the dash or affixed with velcro … certainly not an OEM standard appearance.
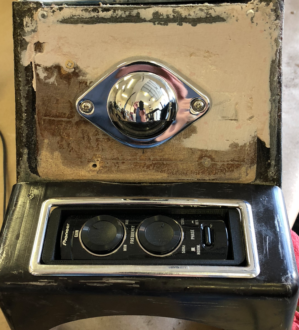
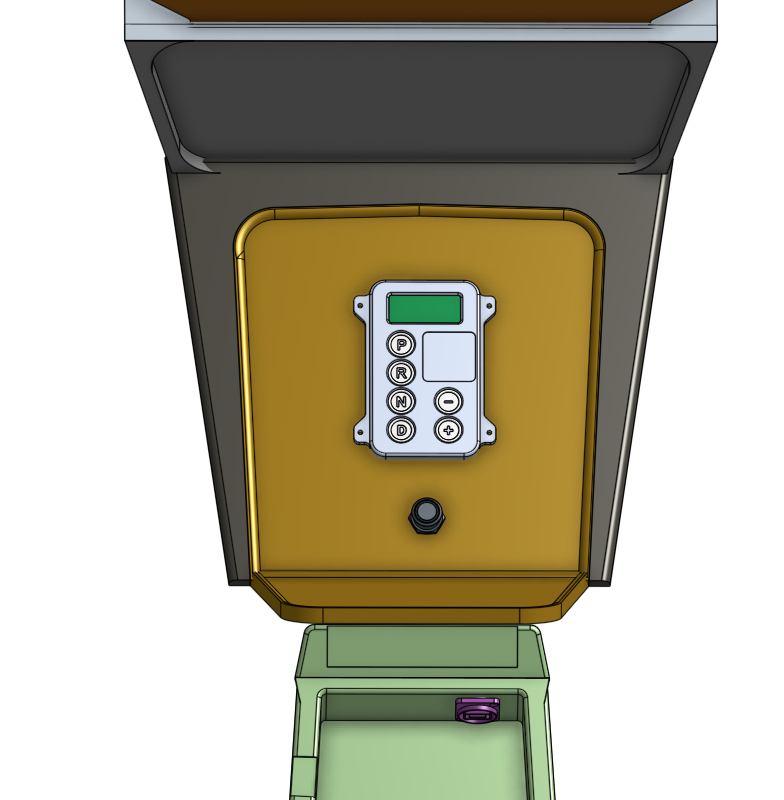
The useless ashtray at the end of the center console that straddles the transmission tunnel is a convenient location for the remote and it fits nearly perfectly.
A custom 3D printed insert designed to fit the old ashtray case will look finished and professional.

