Topics
Engine removal
R12 refrigerant
The first step towards taking out the XK inline six engine involves the R12 (chemically named dichlorodifluoromethane but commonly known as freon-12) refrigerant used in the Jaguar air conditioning system. General Motors developed this ingredient for automotive air conditioning systems in the mid-1930s, and it was widely used up until the mid-1990s. Unfortunately, R12 turned out to play a devastating role in ozone depletion which led to Clear Air Act amendments that, among other things, phased out R12 for good. Cars now use R-134a which has an insignificant ozone profile.

Robinair R12 recovery machine connects to the compressor
It is technically illegal to vent R12 into the atmosphere on purpose (although how can this really be enforced?) so the correct disposal method is to find a garage with an old R12 recovery machine. Twenty years ago this was easy (even ten years ago), but in 2017 finding the right auto shop took some time.
Bonnet


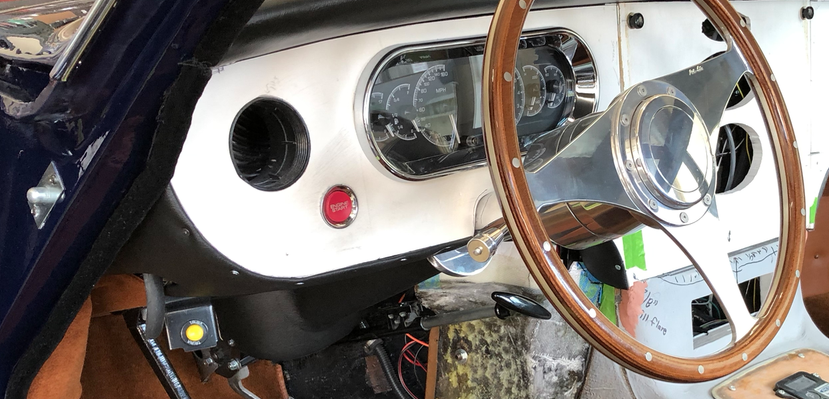
Unlike the Mk2 bonnet, the XJ6 has a convenient tilt-up design. Two bolts hold on each bracket. Removal is fairly straightforward: disconnect the fog and headlight wiring, unfasten the bolts, and lift the bonnet off the body.
Once removed, the bonnet was placed on a body panel rack for safekeeping. The tilt-up design provides easy access to the engine bay.
The front wings also come off to provide a convenient work area.
Radiator and condenser

Condenser plumbing connection on left side
With the R12 gone and the bonnet out of the way, the AC condenser may be detached from the radiator by disconnecting the refrigerant plumbing and unfastening two bracket screws. The condenser simply lifts off of the radiator front.
Next, coolant is drained out of the radiator. This is messy work because the petcock valve pours out in such a way that nothing can be collected in a bucket.
We had to rely on an improvised “tray technique” … basically collecting the coolant in a large under-lift tray and then carefully tilting down an edge to empty coolant into a bucket.
After a few other bits and pieces were taken off — the fan shroud, oil intercooler, some hoses, and associated hardware — the radiator lifts up and out. What remains is a very large opening to the engine bay (much better than the Mk2!) and should fit the LS engine with room to spare.


Engine-transmission removal
The Jaguar Service Manual contains a specific list of steps for engine removal; since we have no intention of re-installing the XK engine, the recommended Jaguar procedure to preserve plumbing, wiring, hoses, and hardware wasn’t observed. Instead, the objective was to remove any and all obstructions and then simply raise and pull the engine out.

The XK engine minus a few accessory items
If you’re already nostalgic about the XK engine in all its six cylinder magnificence, you can watch a video of it idling happily.

XJ6 empty engine bay
Even with the generous XJ6 engine bay, the XK block and attached Borg Warner transmission take some maneuvering for clearance. A slight attitude imbalance can cause a problem.
After a frustrating hour, we made two critical adjustments. First, the diaphragm valve at the rear was pressing hard against the firewall, thus preventing any movement of the engine block. After the diaphragm was removed, the engine was freed up enough so that the engine hoist could adjust the block’s attitude.
Second, a level attitude is required to clear the oil pan over the steering rack (using the inflection point of the rear lifting eye bracket which is very close to the center of gravity of the entire engine-transmission assembly). When the rear transmission crossmember is removed (and after the propeller shaft has been disconnected), the transmission will tend to drop down. This incline makes it impossible to clear the steering rack.
Fortunately, we had a jack bridge on the lift which made it possible to lift the rear of the assembly under the oil pan (we also tried the transmission pan, but less successfully); this leveled out the block enough to clear the steering rack.
Once the steering rack obstruction is overcome, the engine can be pulled straight out. Whew!
Component removal
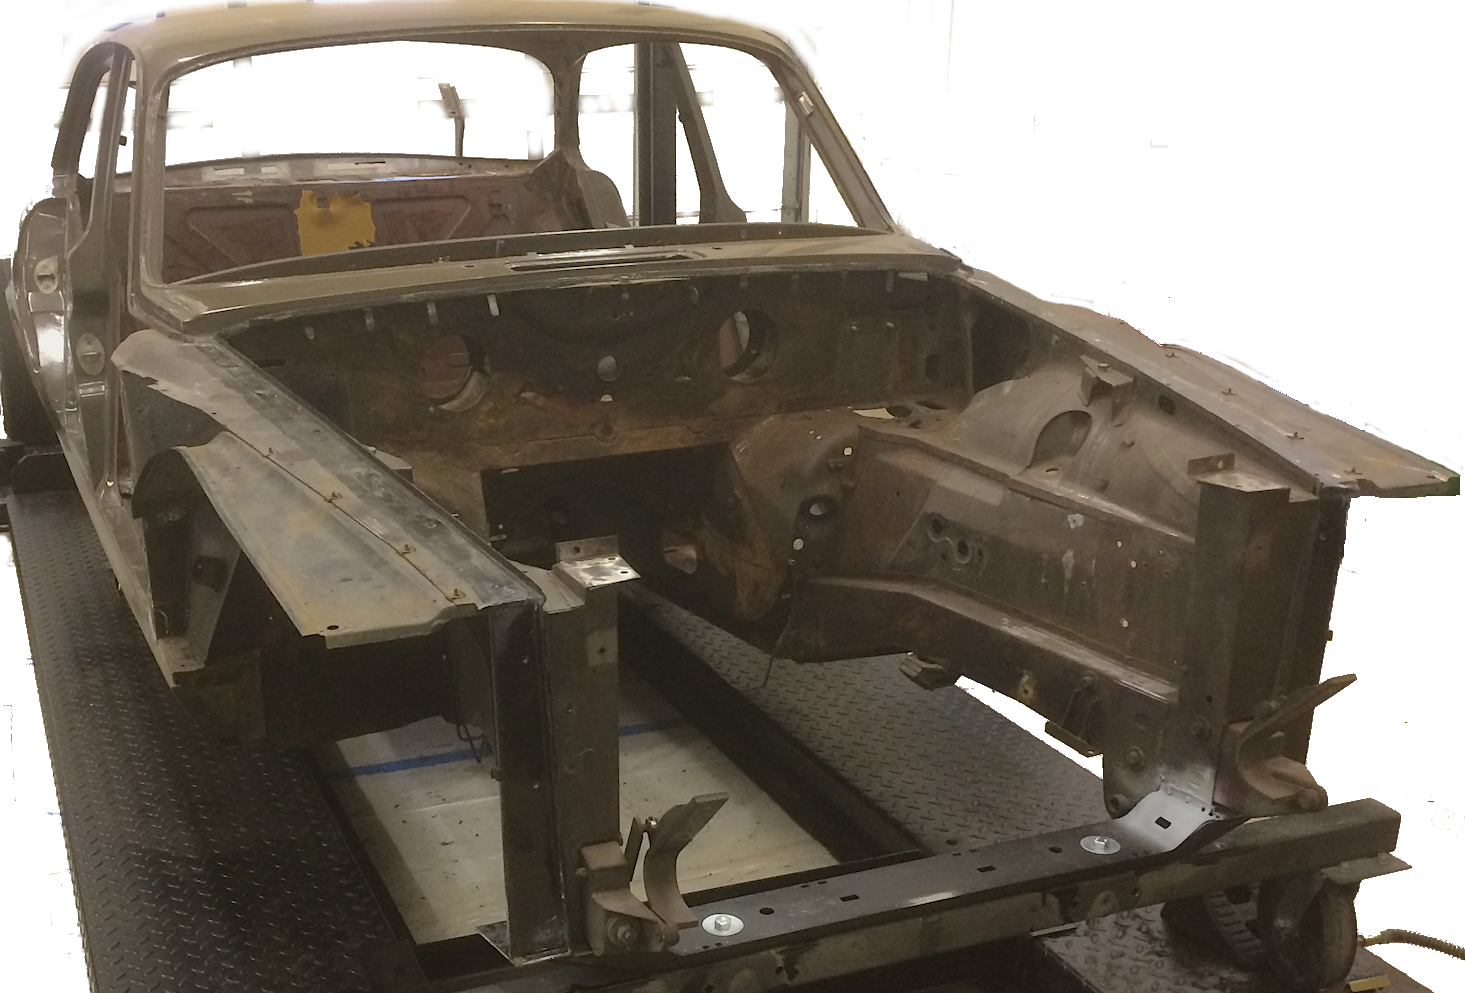
In addition to the engine and related parts, every single non-chassis component must be removed to preparation for media blasting of the body, a process we successfully used in our Jaguar Mk2 restoration project. After days of unbolting, scraping, pulling, and drilling, the chassis is getting down to its skeletal infrastructure.

Getting down to a bare chassis after component removal

Stripped down view from the boot

Chassis before suspension removal
After suspension removal

Rear suspension after power washing
Media blasting
After stripping down the chassis, it is ready for media blasting to remove rust, paint, and undercoating. The larger metal pieces – front crossmember, rear suspension cage, and rear control arms – will receive the same treatment. Smaller parts can be handled in our media cabinet instead of making the trip up to Classic Car Blasting.

Front crossmember, rear suspension cage and arms off to the blaster

XJ6 chassis on a flatbed to the media blaster
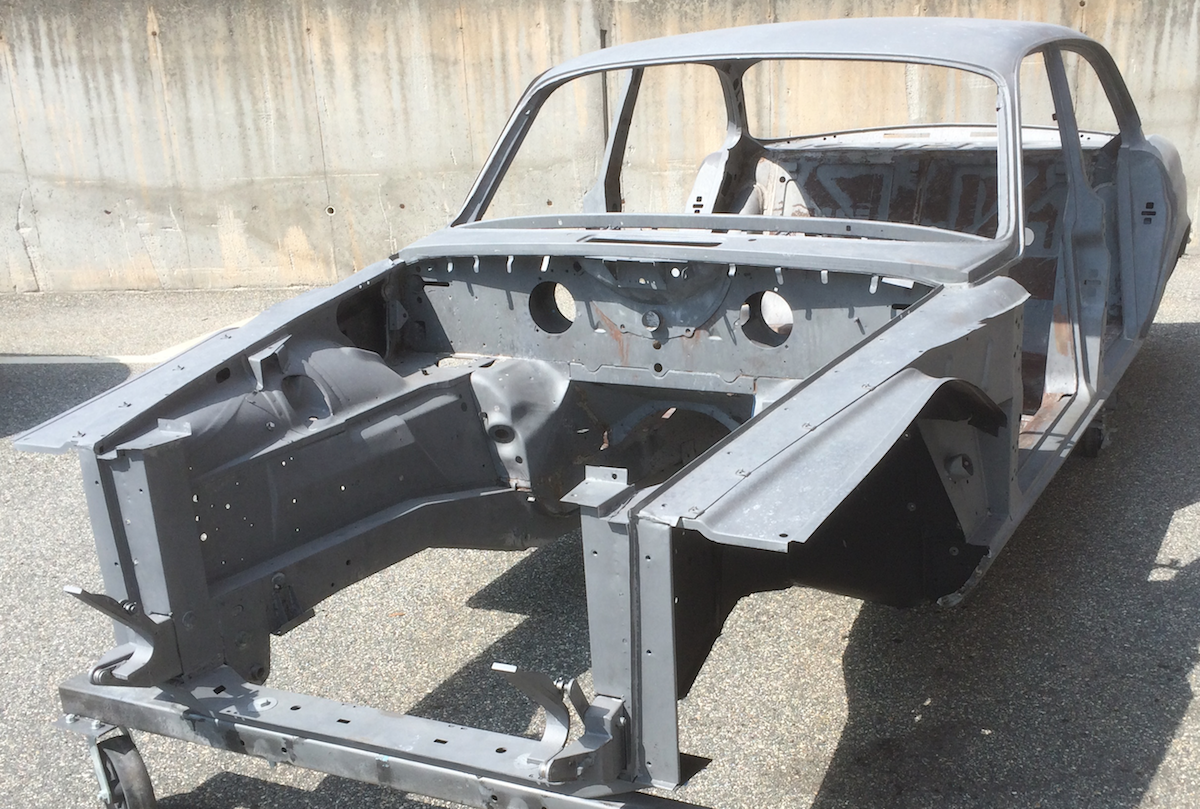
Chassis after blasting


Here’s hoping the trusty old XK engine will find a good home!
Yes Peter, we hope the XK can be usefully recycled into another Jaguar, perhaps an E-type, souped up XK-150, or even another XJ6. If anyone is interested, please let us know (the assembly is resting comfortably on a pallet, ready for pickup).
Nice progress! It is a little hard to tell in the photos, but from what I can see the engine bay is amazingly clean and free of grease and grime. Is it as good as it looks in the images? Also, don’t see even a spec of rust. How fortunate.
Lin
The rocker panels at the pinch were corroded so the front floor pans, toe board, and a inside rocker panel patch are required. Otherwise, surface rust in a few places, but overall in excellent shape.