Engine

Crankshaft damper

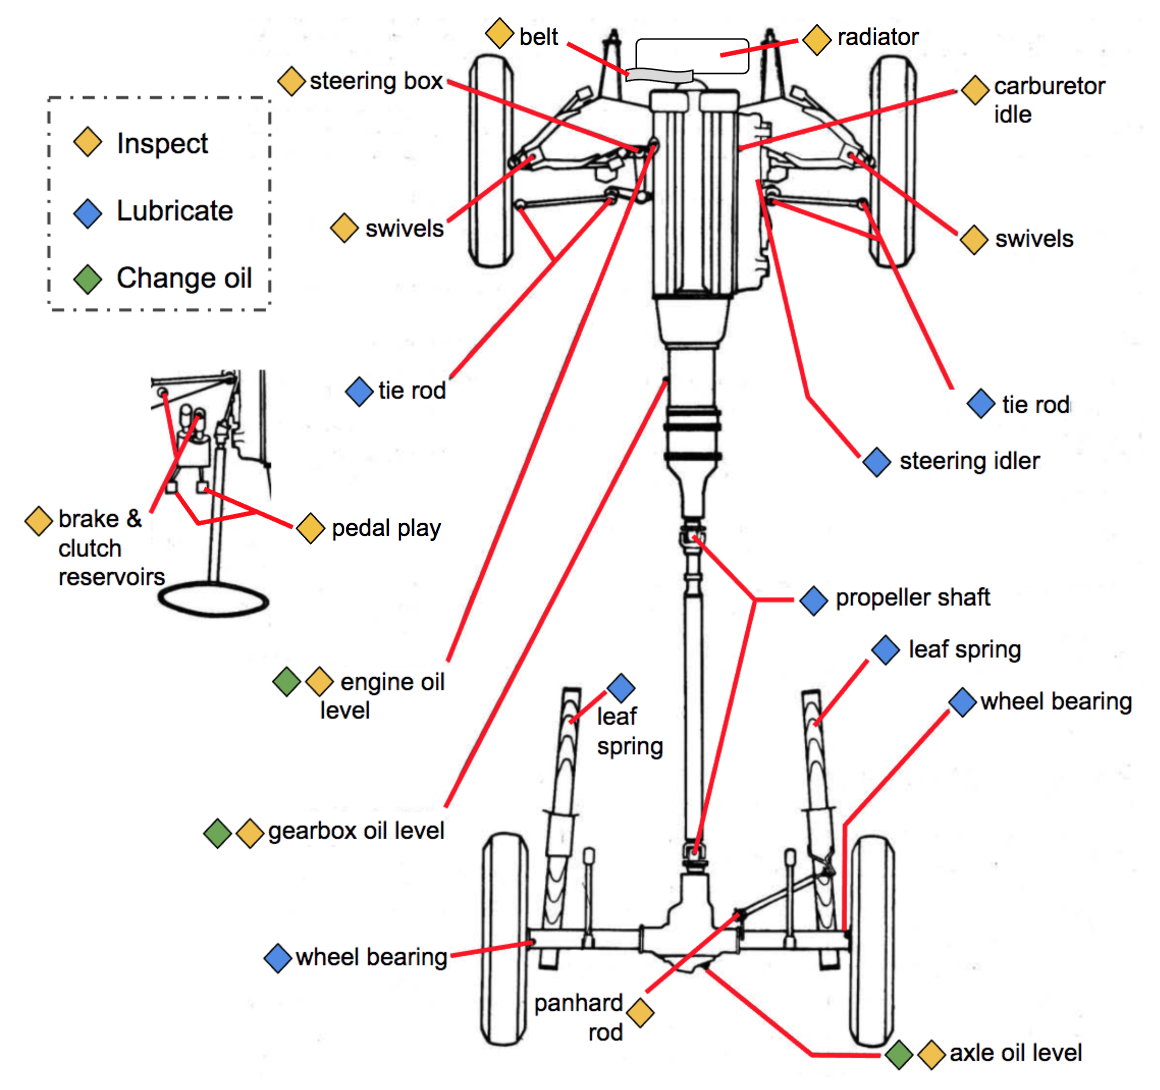
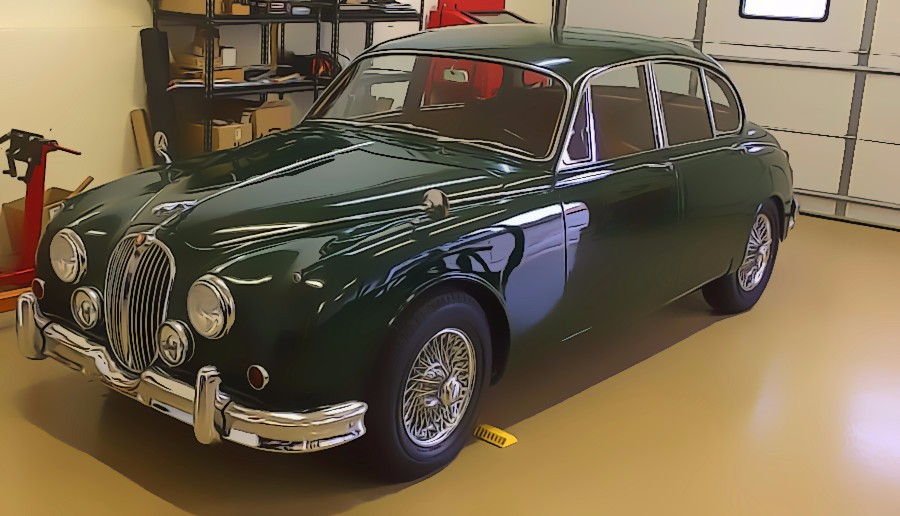
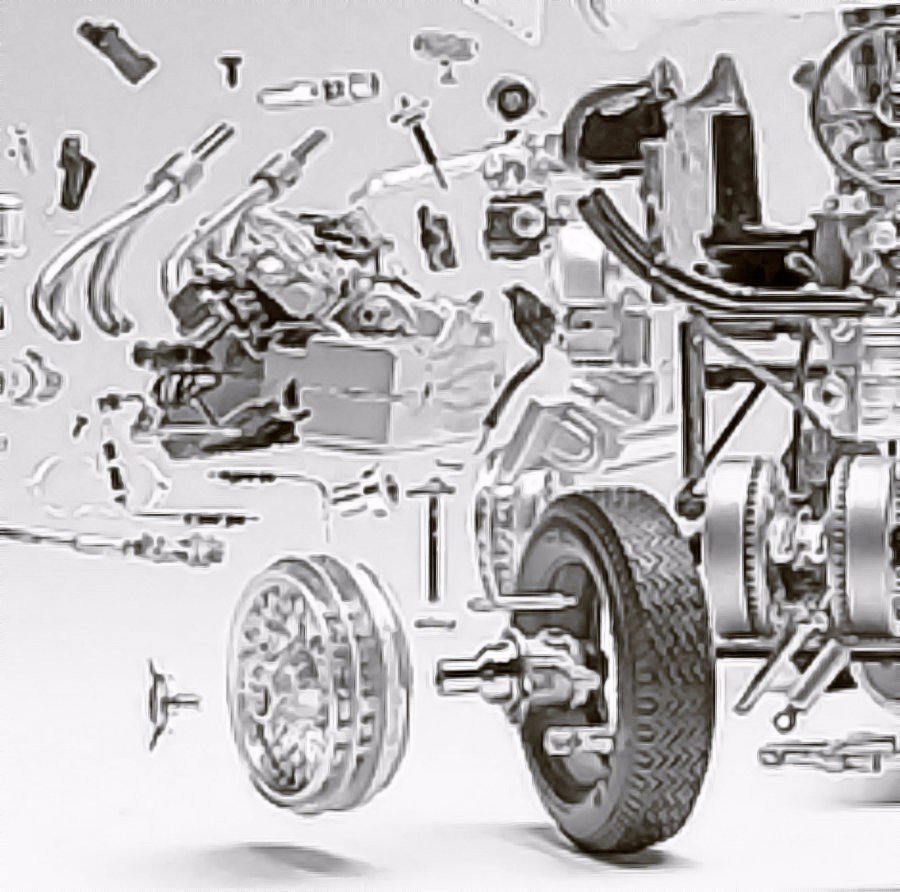
See also overview of engine planning and Metalastik damper. Replacing the water pump requires the removal of the front pulley and crankshaft damper, a flywheel-like disc also known as a harmonic balancer. These parts are secured on the end of the crankshaft with a large bolt (1 5/16″ hex head)......

This content is for Full access 1 year and Full access 24 hours members only.
Register
Already a member? Log in here
Continue reading...

Oil pan restoration, part 1

See also overview of engine planning. The steel oil pan in the 2.4 is a magnet for rust. We’ve had good results with the POR15 system – degreaser, metal prep that removes rust and coats the surface with zinc phosphate, POR15, and if needed for appearance or UV protection, a......

This content is for Full access 1 year and Full access 24 hours members only.
Register
Already a member? Log in here
Continue reading...

Spit & polish

As we begin to deal with all the sub-assemblies, the first decision is whether to restore or replace the part under review. For example, although completely covered in years of road grime, the engine ground strap cleaned up well and is perfectly serviceable. On the other hand, the clutch slave......

This content is for Full access 1 year and Full access 24 hours members only.
Register
Already a member? Log in here
Continue reading...

Oil pan

With the engine upside down on the engine stand, the oil pan points up at the ceiling and is in the optimal position for removal. Thirty bolts ring the oil pan and hold it to the engine block. After these are removed, the pan can be pried away (pulling parts......

This content is for Full access 1 year and Full access 24 hours members only.
Register
Already a member? Log in here
Continue reading...

Engine block refresh and upgrade planning

Our leisurely drives prior to disassembly as well as the cylinder compression test indicates that the 2.4 engine works well and doesn’t need a major overhaul. Still, we need to refresh parts that degrade over time, like rubber hoses, replace seals and gaskets to reduce the oil leakage typical of......

This content is for Full access 1 year and Full access 24 hours members only.
Register
Already a member? Log in here
Continue reading...

Engine-gearbox deconstruction

Reference ValveChatter Entry 52 – Bell housing bolt pattern The engine, gearbox, and overdrive unit were removed from the body as a single assembly – a long, awkward, and heavy collection of metal parts. So, the first restoration task is to break this assembly down into more workable pieces. Starter......

This content is for Full access 1 year and Full access 24 hours members only.
Register
Already a member? Log in here
Continue reading...

Engine removal

With the body dolly attached to the frame, we continued to follow our plan of dropping the engine, gearbox, and overdrive to the floor, rather than lifting it up and out over the body shell. To do this, we first positioned the engine hoist so that its front legs were......

This content is for Full access 1 year and Full access 24 hours members only.
Register
Already a member? Log in here
Continue reading...

Radiator, dynamo, grille, fan, intake, fuel filter

Radiator Reference ValveChatter Entry 18 – Radiator Reference Jaguar Service Manual – Radiator removal Reference Jaguar exploded view – Radiator The 2.4 Mark II does not have a radiator cowl that must be removed. With the coolant (mostly) drained out, the radiator removal procedure is to disconnect the top and......

This content is for Full access 1 year and Full access 24 hours members only.
Register
Already a member? Log in here
Continue reading...

Oil filter

Reference ValveChatter Entry 19 – Oil filter Reference Jaguar Service Manual – Oil filter removal Reference Jaguar exploded view – Oil filter Projecting out from engine bay like a torpedo is the oil filter canister. Jaguar had two designs, one facing up and the other down like ours. Inside the......

This content is for Full access 1 year and Full access 24 hours members only.
Register
Already a member? Log in here
Continue reading...

Exhaust manifold

Reference ValveChatter Entry 21 – Exhaust manifold Reference Jaguar Service Manual – Exhaust manifold removal The exhaust manifold, a front and rear section, is attached with sixteen brass nuts and spring washers. The manifold is essentially indestructible; it will be media blasted and then painted. Once the manifold is removed,......

This content is for Full access 1 year and Full access 24 hours members only.
Register
Already a member? Log in here
Continue reading...