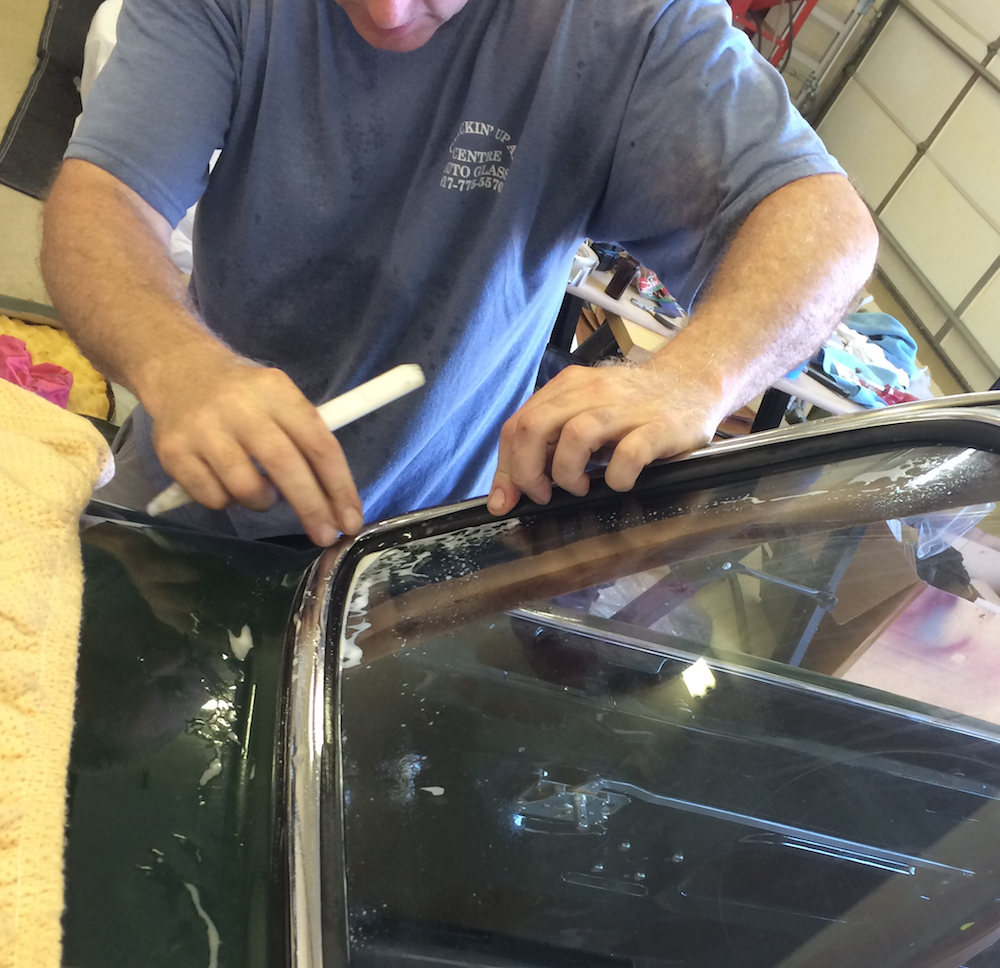
See also Smiths small gauges and petrol tank removal posts. In anticipation of the tank installation, the petrol filler cavity on the left rear of the body was painted with POR 15 and fitted with a new grommet. The POR 15 coating should withstand gasoline drips better than the exterior......
Kriss Motors
Smiths small gauges
The Smiths small gauges — oil pressure, coolant temperature, fuel level, and voltage (which replaced the original Lucas ammeter) — have face plates tailored specifically for Jaguar models, but share innards with other Smiths gauges installed in most vintage British cars. All use either transmitted resistance value to modify current......
Radio antenna
The Mk2 antenna, located just outside the A-post (door/window pillar), came in a variety of configurations since many were installed aftermarket by Jaguar dealers. In our case, the surviving radio turned out to be a 1970s Sanyo replacement for the original Radiomobile radio while the antenna, a simple manual extended......
Heater lever labels
Jaguar placed the heater lever labels on the inside edge, sandwiched between the radio, with HOT-COLD on the left and CAR-SCREEN on the right. Never easy to read, especially at night without illumination, these labels were mostly reminders to the owner about what the levers did. As previously discussed, the......
Happy birthday
Today this blog is one year old. The first post on June 26, 2014 described removing the rear seat. Now 239 posts later, the Jaguar is slowing coming back together. Thanks to Dawn Kriss for the beautiful hand coloring of the Mk2 blueprint. Over 35,000 views … thanks everyone!...
Heater upgrade, part 7
See also prior posts about the upgraded heater: parts 1, 2, 3, 4, 5, 6, and the 3D printed valve mount. The final assembly of the upgraded heater is at hand. A new black heater core replaces the old rusted and clogged unit. In addition, three plastic vanes, designed and......
Tags redefined
When this blog was started back in June of last year, not much thought was given to the “tags” which can be applied to each post for classification purposes. So a year later, all the old tags have been deleted and replaced with ones that describe process steps rather than......
Air distributor box redux
See air distributor box restoration post. Now that the heater and fan are temporarily installed, we can test the air flow into the plenum and out through the air distributor box and demisters. Bruce Murray, who installed his new heater a few weeks ago, was the first to discover that......
Heater upgrade, part 6
After installing the heater casing, the next step was wiring up the motor and electronic control module. The electronic control box, potentially sensitive to heat, was tucked away under the passenger dash. A Molex connector joined the harness to the fan motor, which passes through the dip switch firewall hole,......
Heater upgrade, part 5
See also heater upgrade part 1, part 2, part 3, part 4 and the valve mount. The last construction task involving the heater casing itself is setting the proper flap angle and rotation. The green flap above is the hot-cold control; if vertical, the flap forces air through the heater......


