Background
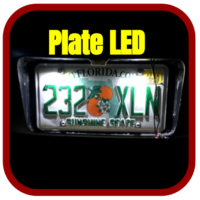
Removing the entire back half of the Beetle’s body opens up options for rear lighting — license plate illumination, reverse, running, brake, and turn signal lights — as well as tailgate and truck bed embellishments. See also Owner’s Manual modified reference guide.

Classic Ford F-100 pickup
Vintage pickups, like the Ford F-100, handled the back end with simple economy.
The tailgate skin displayed logo lettering of the manufacturer while lighting, placed outside the busy work area of the tailgate itself, favored small round tail lamps fixed to the rear fender/end pillar or suspended out from the rear of the body.
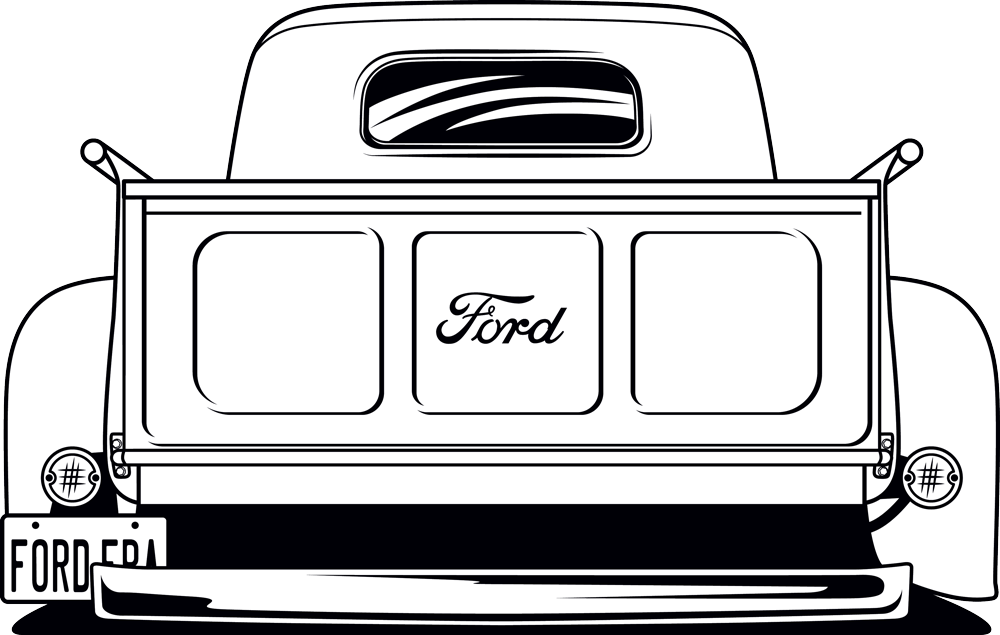
Early Ford F-series rear design (1948-52)
Logo treatment remained subdued — a small script in the middle indented F-100 panel for example — until the late 1950s when embossed lettering splashed across the entire width of the tailgate.

Fourth generation F-100 circa 1962
By the 1960s, back end designs evolved with less curves that suggested a utilitarian work use, adding more robust rear lighting that was embedded into sheet metal end pillars. Since then, the American pickup hasn’t changed much.
Pickups today are typically fitted with large rectangular rear lamp assemblies with integrated reverse, turn signal, running, and brake lights. An additional brake/running light is common above the rear cab window. Embossed logo lettering remains on the tailgate for many models.


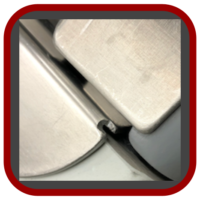


What epoxy clay do you use to bond the acrylic letters to the fiberglass skin
Click on links below for more information.
The letters were glued directly to the fiberglass with 3M plastic emblem adhesive.
The epoxy clay was used to make a bevel to emulate the look of pressed steel embossing. Refer to TAILGATE LETTERING post.
The epoxy clay we used is Aves Studio AC1N. Refer to PARTS-TOOLS-SUPPLIES