Topics
Background
The plastic center floor console was obviously designed with a back seat in mind, providing either an ashtray or accessory power as well as glide out cup holders for rear passengers. In addition, most of the plastic surfaces now suffer from tacky soft-touch coatings that must be removed and deep cleaned or repainted.
Our Ute transformation dispenses with back seat amenities and upgrades leather components — the shift boot and armrest lid.
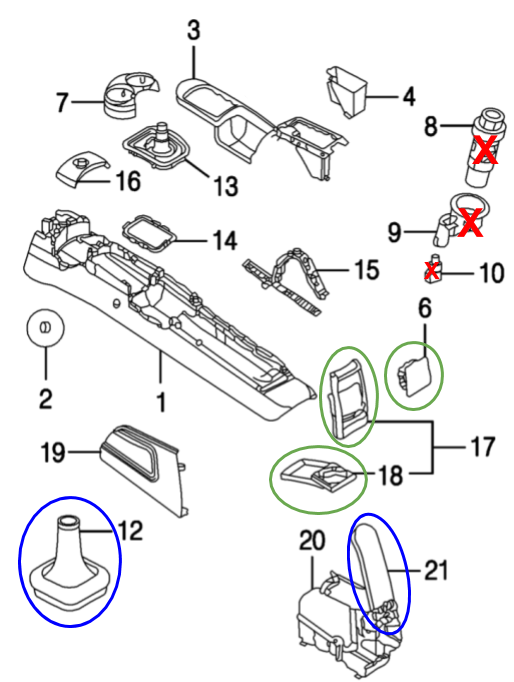
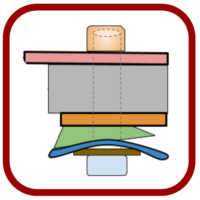
1. center console base
2. center console side cover for bolt access (left and right)
3. center console upper trim
4. storage insert
6. rear pop out power accessory (or lighter) MODIFIED
7. front swivel cup dual holder
8. accessory power (or lighter) ELIMINATED
9. accessory retaining sleeve ELIMINATED
10. power outlet (or lighter) ELIMINATED*
12. leather shift boot NEW UPGRADE
13. manual transmission lever cover UPGRADE IF DAMAGED
14. manual transmission retaining frame
15. shifter guide
16. front power outlet
17. rear trim cover MODIFIED
18. rear glide out cup holder MODIFIED
19. side cover
20. armrest assembly
21. leather armrest lid NEW UPGRADE*NOTE: while the rear power outlet is eliminated, the wiring pigtail will be re-purposed to power the cargo cam.
Leather upgrades
Over time the center armrest and shift boot take a beating. If exceptionally well maintained, leather can last for decades, but the Beetle’s leather was thin and wears out relatively quickly. Refer to parts list.
Shift boot

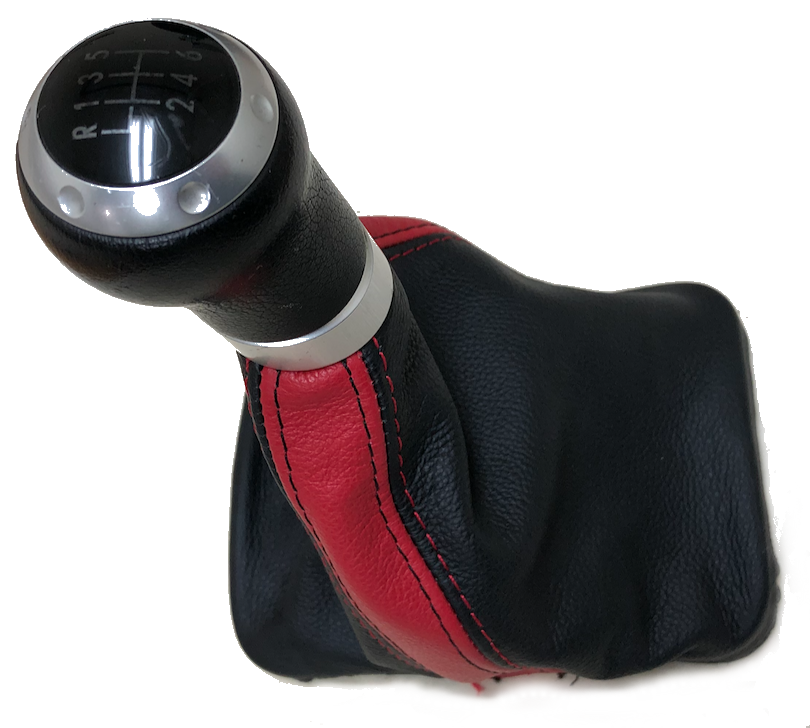
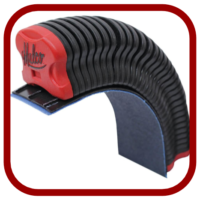
Upgraded leather shift boot
The removal of the tacky soft-touch coating opens up new color options. Our original black and grey interior will add a deep red accent color, and happily JF Customs in the UK provides a good matching boot upgrade with a red stripe and parallel stitching.
Since the console and shifter surround has to be dismantled anyway, replacing the leather boot can be done at the same time. The boot assembly is deceptively simple; it takes a while to dismantle and probably even longer to put back correctly.
Pull the old boot up so that the inside shows; a metal clasp hold the shift knob to the shifter shaft and it must be cut off. Pry off the four locking legs on the plastic hold and pull the knob/boot off. The black plastic collar that holds the leather boot to the knob is difficult to remove — gently pry it off to remove the boot. Remove and save the rectangular frame at the bottom of the boot.
Replacement boot makes a significant visual impact on the interior
Reassembly is essentially the reverse of the dismantling process, but contact cement should be used instead of the factory staples. Instead of the factory metal clasp that holds the boot shaft to the shifter, substitute a 5/8″ hose clamp.
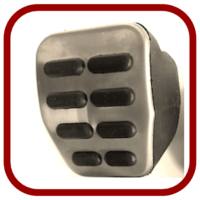
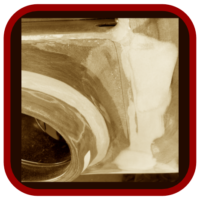
Armrest lid
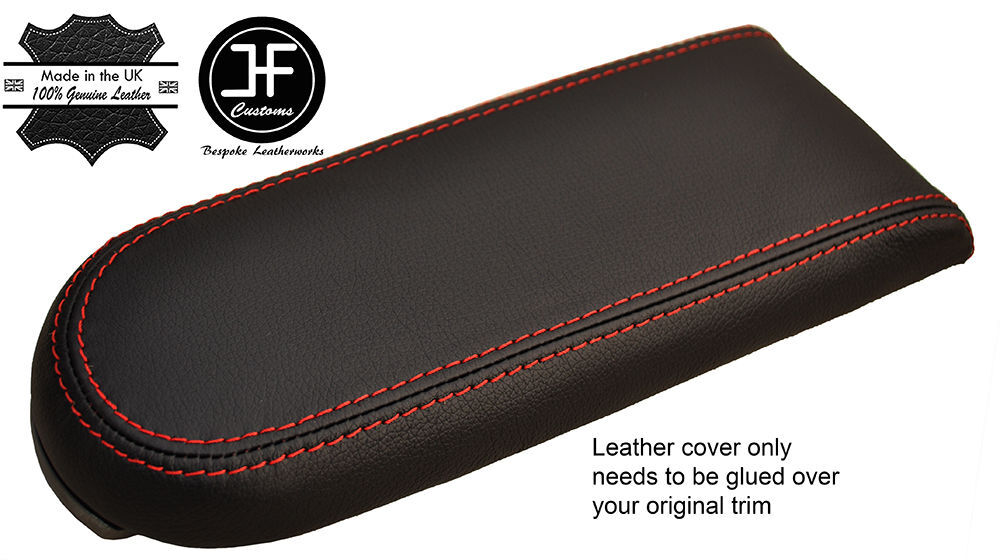
Black leather lid with red stitching
JF Customs also makes a matching leather armrest cover that they say can be glued right over the existing one — but this is NOT the correct way to install a new cover! Our original is grey so swapping for a black/red one that matches the shift boot should look good.
The lid must be removed to install a new leather cover. First, pry off the plastic bottom of the lid, started from the base, with a small screwdriver; it is held in place with small plastic tabs.

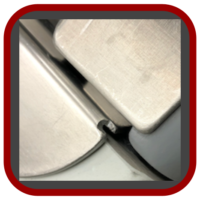
Removal of the top lid is devilishly difficult — and the documentation is misleading. When the lid is fully extended, a small U-shaped catch appears in the metal punched-out window. The Bentley Manual says to press the ends together which is basically impossible to do given its small size and sunken position.
Instead, wedge a small screwdriver into the window and press the trailing part of the catch in while pressing down on the lid itself. Then repeat on the other catch and the lid can be slid up and removed.
Next, pry off the staples that hold the original cover and take care not to damage the foam padding underneath. The new cover should be glued to the plastic edges of the lid.

Black leather cover significantly upgrades the console lid
Assembling the lid mechanism is regrettably not the expected reverse of the dismantling procedure. The black plastic cover with the new upholstery must be separated from its metal inside plate; squeeze the tabs at the bottom and pry the metal out. Insert the metal plate into the lid mechanism and slide it past the two glide stops. Then snap back in the upholstered lid and finally snap on the back plastic cover.
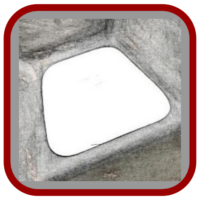
Rear console modifications
To eliminate the rear passenger accessory pop out power outlet and glide out cup holders, the rear trim cover plastic parts (numbers 6, 17, and 18 above) need minor surgery.

The lid must be retained to access two bolt holes inside the cover trim. Landing “pads” fashioned with epoxy clay will hold the lid in position after assembly. The sliding cup holder is permanently closed with epoxy clay.
When repainted, this rear trim cover — not easily seen anyway since it’s only a few inches away from the rear cabin wall — will have a seamless OEM look.
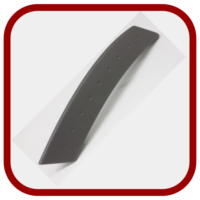
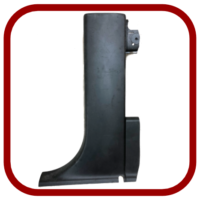
Manual shift cover

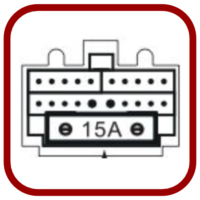
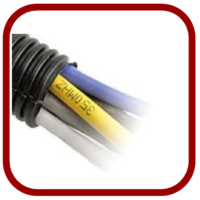
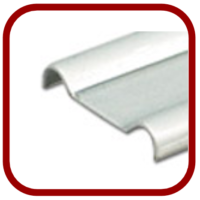
Shift cover 1C0 864 220 B
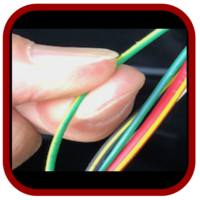
In a manual shift car, the lever linkage and related soft materials — plastic, rubber, vinyl, and leather — take a lot of punishment over the years. In the New Beetle, a rubber cover (see #13 in the drawing above: VW part number 1C0 864 220 B) is especially vulnerable to small rips and holes.
Since this cover is the primary barrier that protects the leather shift boot from the greasy lever mechanism, it should be replaced if damaged (as was the case in our 2004 Turbo S).
Completed restoration
The new leather shift boot and armrest lid, together with polished plastic panels and repainted red highlights, restores the center console better than the original.

Center console with new leather, red highlights, and polished plastic panels


Very nice upgrade. Thanks for sharing your experience. Can’t wait until I get to this point in my project!